
QUXPay®
Corporate User Account Guide
VERSION 1.5
Welcome to QUX Pay® Corporate! QUX Pay® Corporate is a powerful financial management platform designed specifically for businesses and organizations. It offers a wide range of features to help you streamline your financial operations, manage expenses, handle invoices, and more.
Benefits and Uses
Expense Management

Invoice Management

Corporate Tokens

Security and Compliance

How to Sign Up
1. Sign Up
Tap “Log In” on the QUX Pay® app or website, and select “Corporate” from the options.

2. Verify Your Email Address
2.1. After creating your account, you will receive a verification code sent to your registered email address.
2.2. Open your email inbox and look for an email from QUX Pay® with the subject “Your Verification Code”
2.3. Copy the verification code from the email.
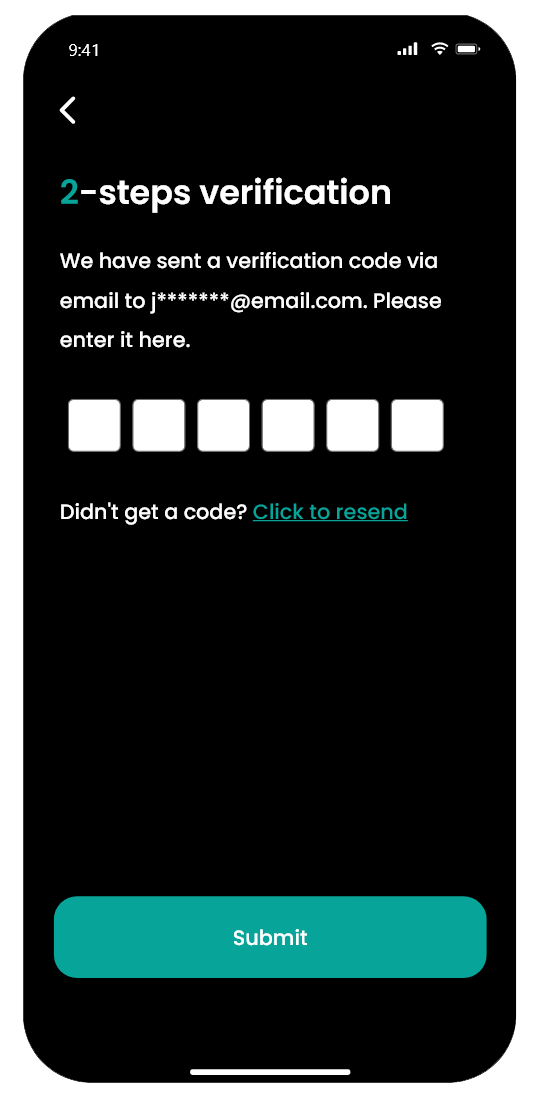
3. Enter the Verification Code
3.1. Return to the QUX Pay® Corporate sign-up page.
3.2. You will see a screen prompting you to enter the verification code, as shown in the screenshots below.
3.4. Upon completing the registration, click “Welcome Aboard!” to start using the app.

4. Log In
Enter your username and password on the log in screen.
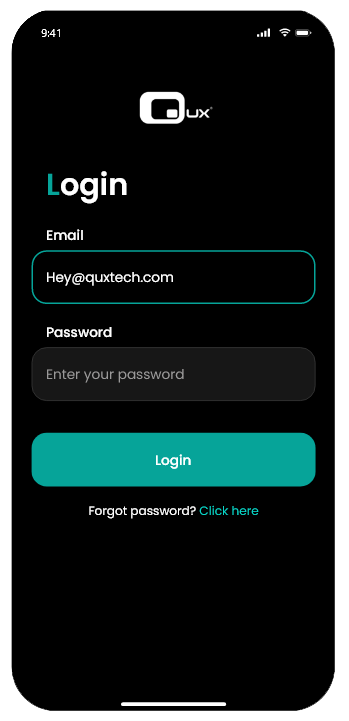
Forgot Your Password?
1. Tap “Click Here” on the login page.
2. Input your email and click “Send Reset Email.”
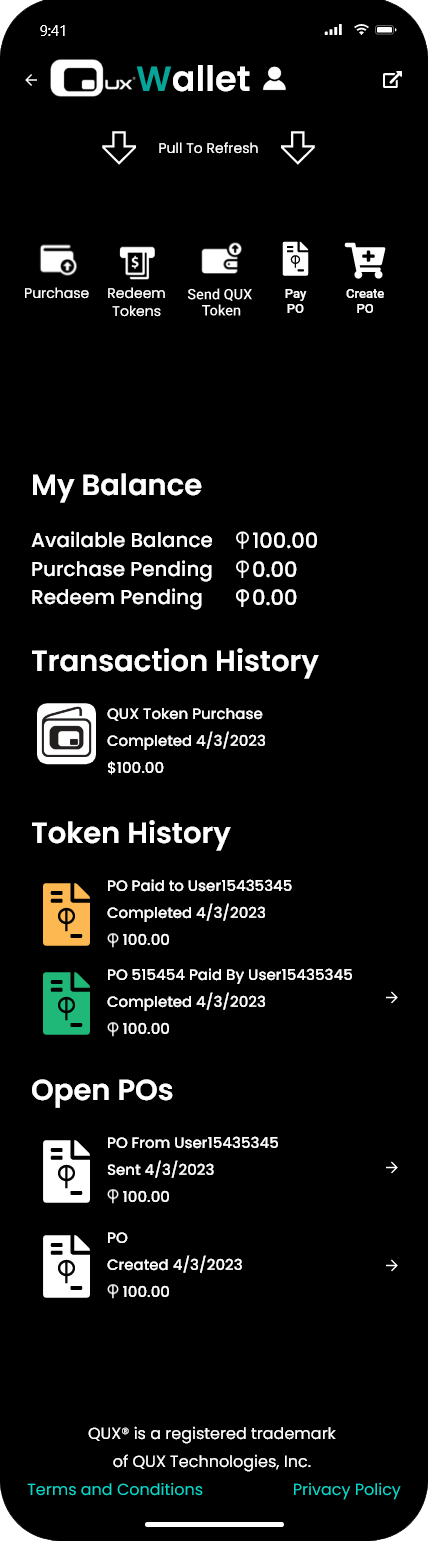
Welcome to The Dashboard
1. Upon successfully logging in, you’ll be directed to the dashboard.
2. The dashboard displays your Available Balance, Purchase Pending, Redeem Pending, and other options.
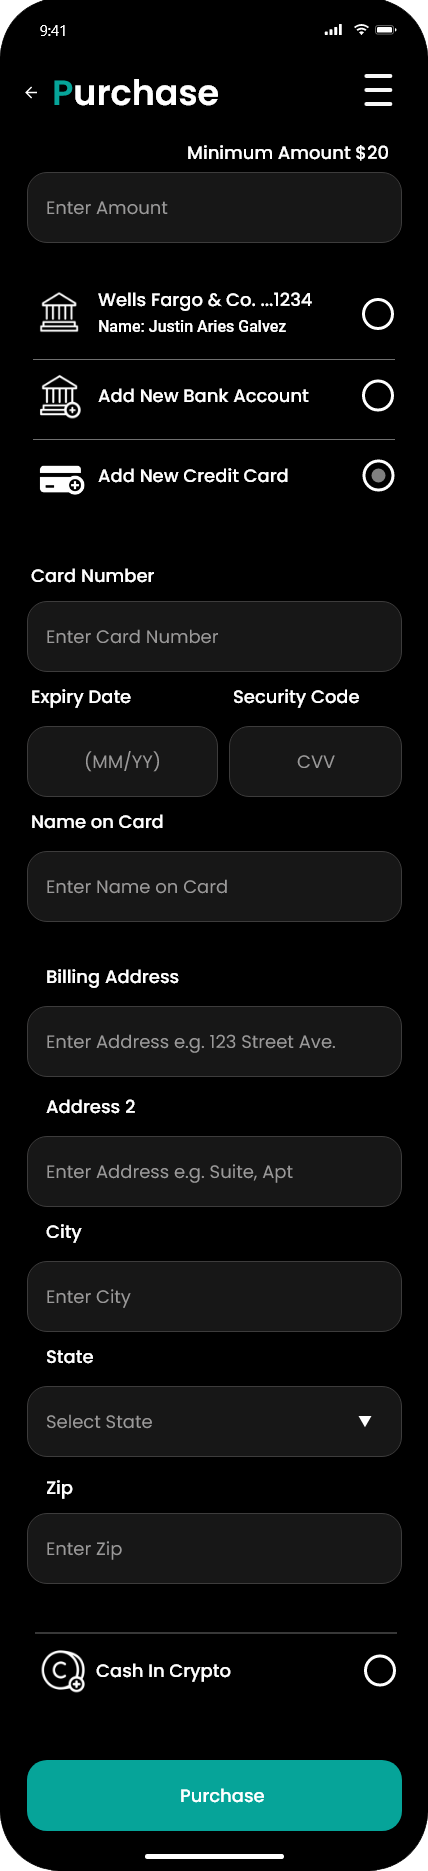
How to Purchase QUX eToken® ?
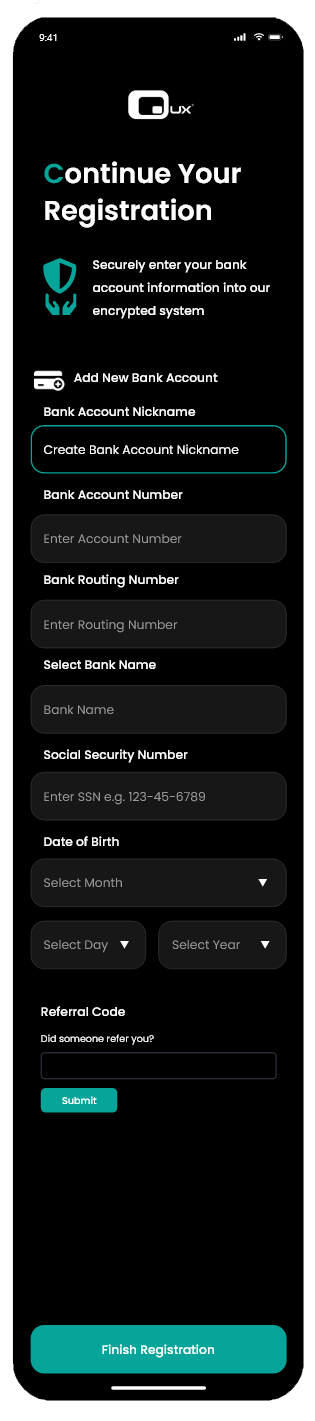
1. Use this feature to buy QUX eToken® for your corporate account. Simply link your bank account for a smooth transaction process. With a few clicks, you’ll have a new balance of QUX eToken® ready for use.
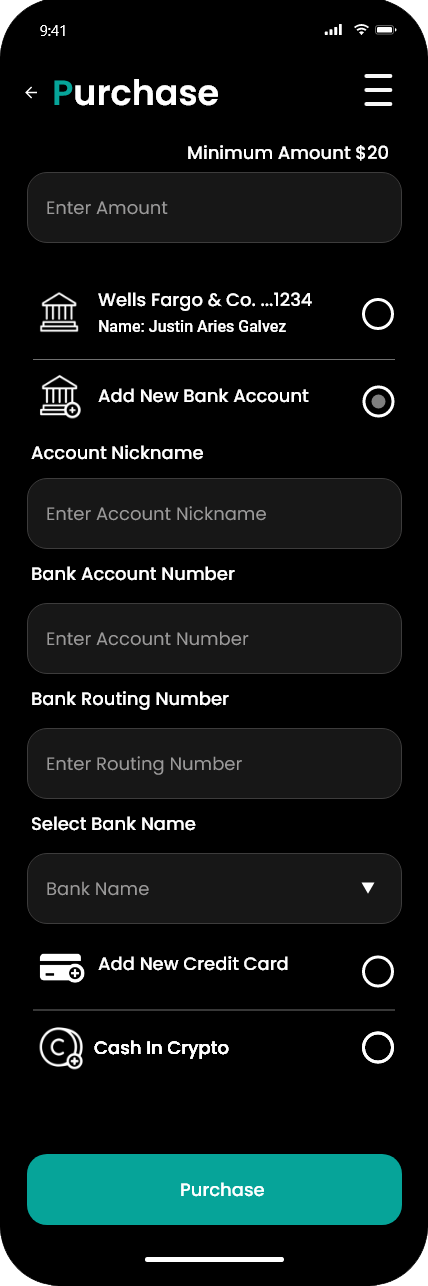
2. Link your Account: Fill up the following details if your going to add a bank account
3. Once you’ve set-up! Time to confirm your purchase, double check the details. Then click on Confirm Purchase.
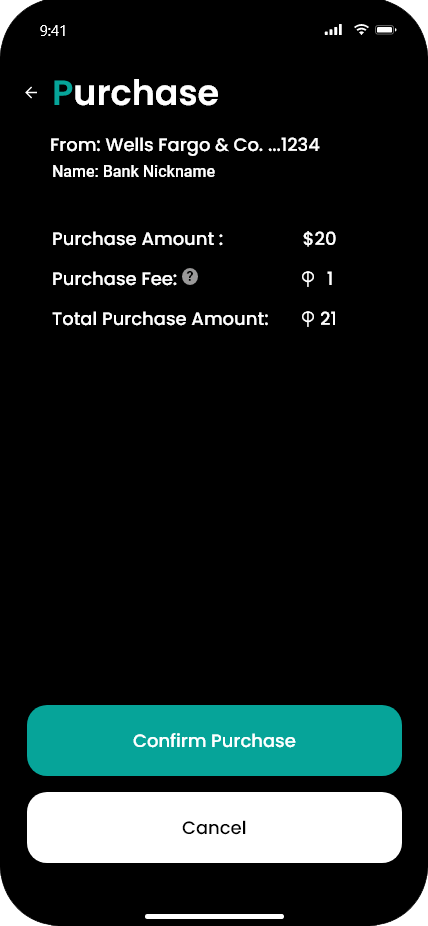
4. You will see your completed transaction details on the screen, and you will also see your recent transaction in your transaction history.

5. To delete or edit your account, tap the menu bar in the upper right corner.
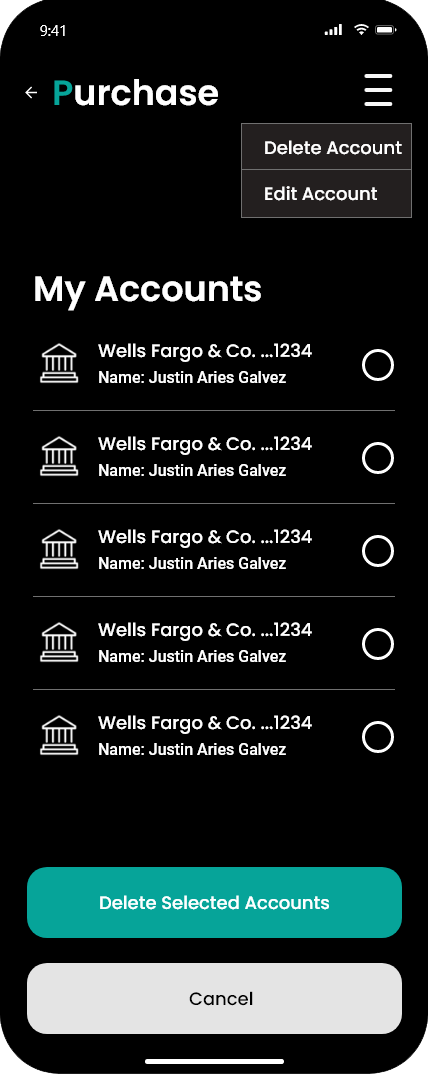
5.1 Select the account you want to delete, then click “Delete Selected Account.” If you change your mind, click “Cancel” to abort the action.
How to Redeem QUX eToken® ?
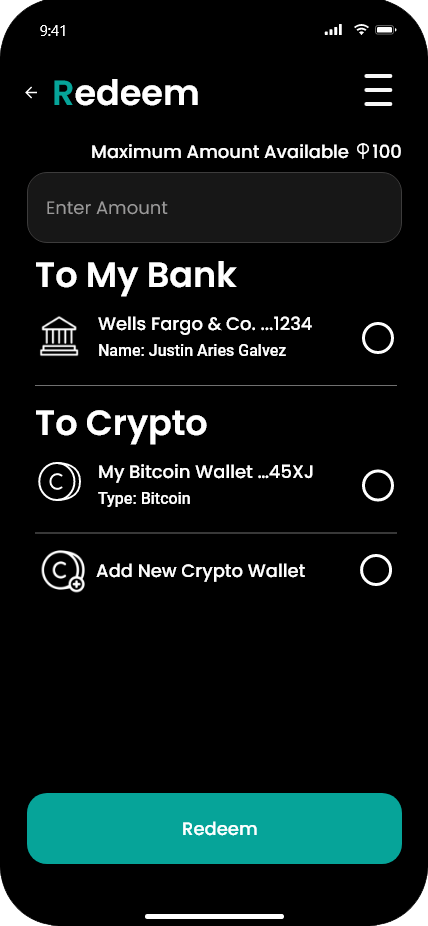
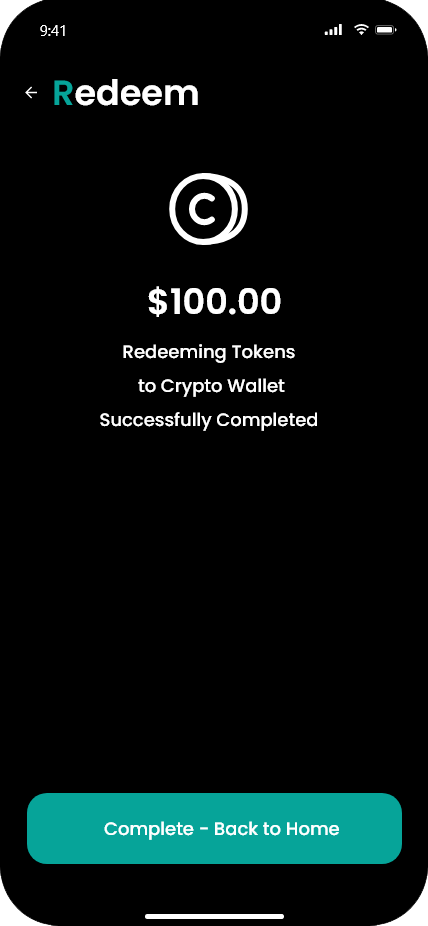
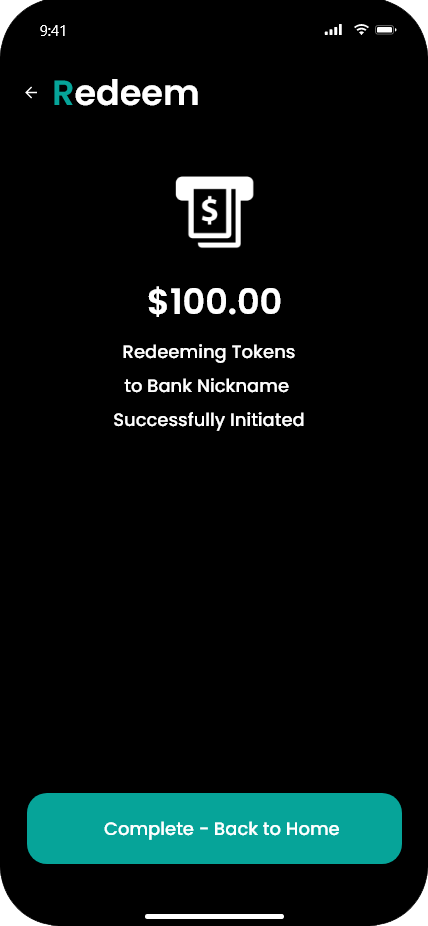
Convert your QUX eToken® into cash or use them for purchases. Enter the amount you want to redeem and select the bank account. Then, click “Redeem.” The next screen will display the Redeem Amount, Token Fee, and Total Purchase Amount. Click “Continue” to proceed or “Cancel” to cancel the transaction.
1. On redeeming yourQUX eToken® , choose which bank account you wanted the amount to be credited to.
2. Make sure to double-check the details before confirming the transaction.
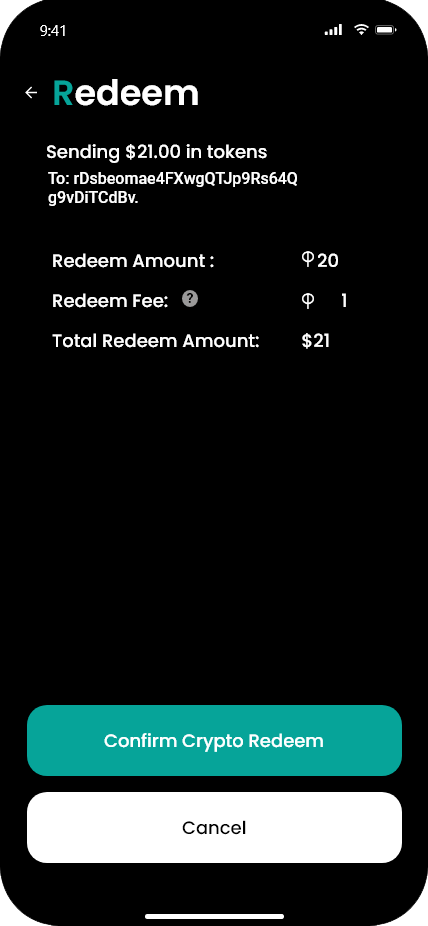
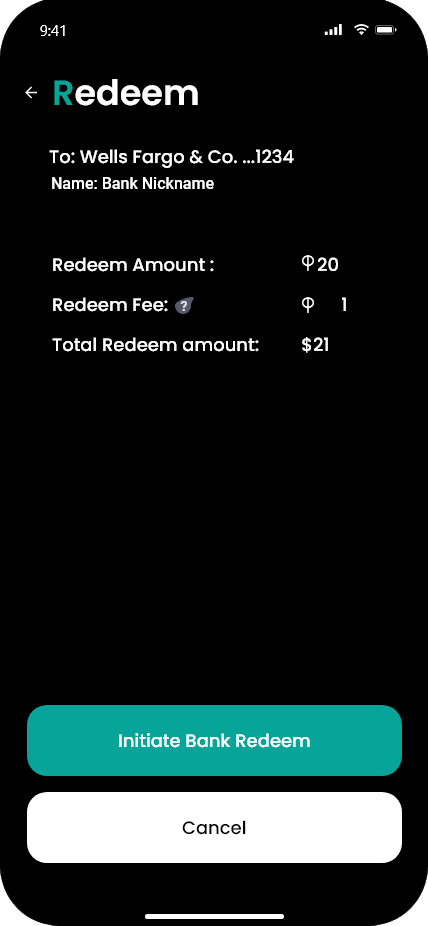
3. You will get a notification on the screen that your transaction had been successful.
How to Send QUX eToken®?
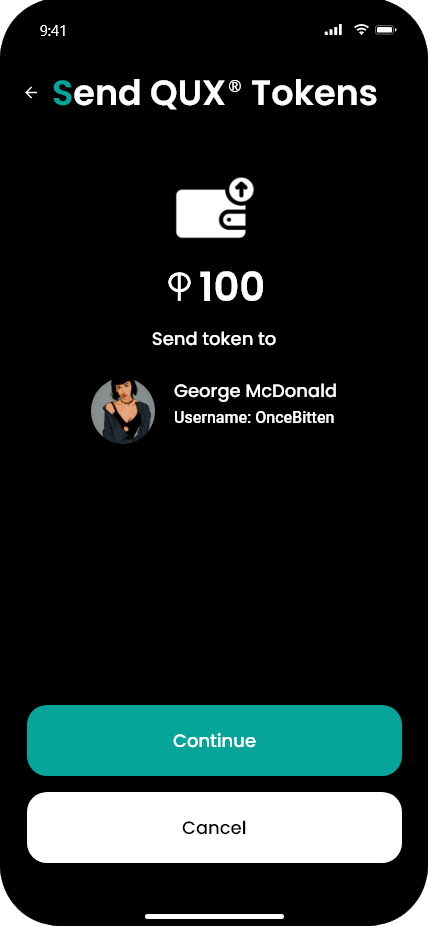
Share the benefits of QUX eToken® with your employees or partners by sending them directly from your corporate account. Simply select the recipient, enter the amount, and spread the convenience of digital transactions.
1. Enter your desired amount, add a comment (option), and then click on the person you want to send it to.
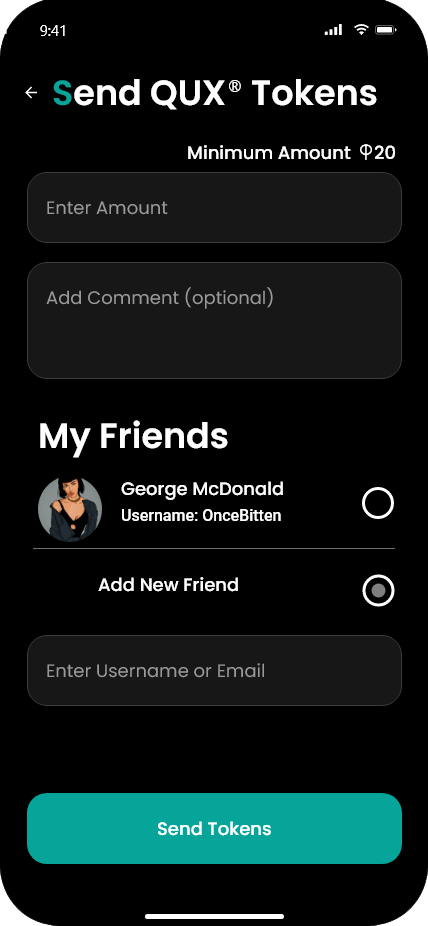
2. One you’re done, a screen will appear displaying the details of your transaction, make sure to double-check on it before hitting the “Confrim Sending Tokens” button.
What is Pay P.O.?
Easily manage and process purchase orders (POs) through the app. Keep track of your purchases and ensure that your transactions are efficient and transparent.
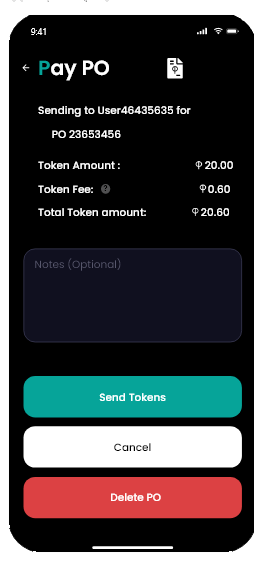
The screen displays the following details for processing the purchase order:
- Recipient: The username or email of the user to whom you want to send the purchase order.
- PO Name: A name or reference for the purchase order for easy identification.
- Token Amount: The amount of tokens you wish to send for this purchase order.
- Token Fee: The fee, if any, associated with the token transaction.
- Total Token Amount: The total amount of tokens, including any fees, for the transaction.
- Noted (text Box): A text box for adding any additional notes or comments related to the purchase order.
- Send Tokens Button: Click to initiate the token transaction and send the purchase order.
- Cancel Button: Click to cancel the transaction and return to the previous screen.
- Delete PO Button: Click to delete the purchase order from the list. This action cannot be undone, so please confirm before proceeding.
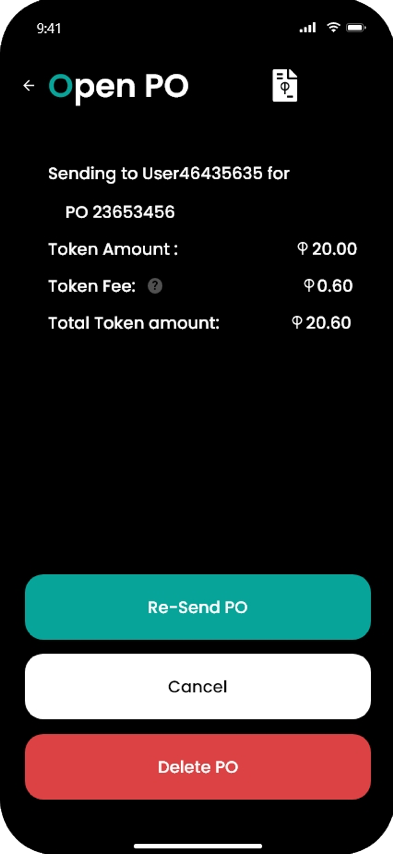
How to Open P.O.?
The “Open P.O.” section allows you to view and manage all your existing purchase orders (POs) in one convenient location.
When you open a specific PO on the Received Tab:
- Shows the details of the recipient user and P.O. number
- Re-Send PO (Button): Click this button to resend the purchase order to the recipient user. This can be useful if the original purchase order was not received or needs to be resent for any reason.
- Cancel (Button): Click this button to cancel the purchase order. This action will mark the purchase order as canceled and will not be processed further.
- Delete PO (Button): Click this button to delete the purchase order. This action will permanently remove the purchase order from the list and cannot be undone.
How to Create P.O.?
Create new purchase orders directly from the app, ensuring that your procurement process is streamlined and organized.
- Select Products To Add: Choose the products you want to add to the purchase order.
- Recent Products (checklist): Select products from a list of recently purchased or frequently used items.
- All Products (checklist): View a list of all available products and select the ones you want to add to the purchase order. This list includes a search bar to easily find products by name.
- Create PO Button: Click this button to create the purchase order with the selected products. The purchase order will be generated and ready for further processing.
- Send To User Button: If you need to send the purchase order to another user or department for approval or processing, click this button. You will be prompted to enter the recipient’s username or email.
- Cancel Button: Click this button to cancel the creation of the purchase order and return to the previous screen. Any selected products will not be added to the purchase order.

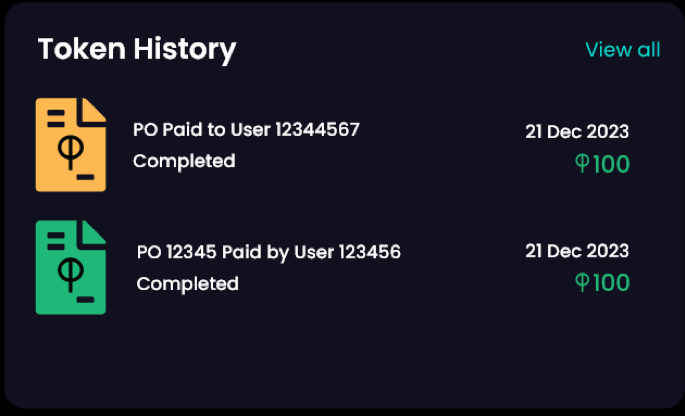
What is Paid P.O.?
The Paid Purchase Order (PO) section displays details of completed transactions. It provides a summary of the transaction, including the recipient’s username, PO name, total amount, total fee, token amount, and the product purchased. This section allows users to review past transactions and track their spending. Additionally, users can close the details of the paid purchase order when finished reviewing.
- View the details of the successfully paid PO: Display the username of the receipt and the PO name.
- Total Amount: See the total amount of the purchase order.
- Total Fee: Check any fees associated with the transaction.
- Total Token Amount: See the total amount of tokens used for the purchase.
- View the Product: Check the product details included in the purchase order.
- Close the PO Details: Click the “Close” button to close the details of the paid purchase order.
1. When you Pay PO, you’ll see the following details on the screen:
- Details of the Recipient and PO Name: Display the username of the recipient and the PO name for easy identification.
- Total Amount: See the total amount of the purchase order.
- Total Fee: Check any fees associated with the transaction.
- Total Token Amount: See the total amount of tokens used for the purchase.
- Note (Text Box): Add any notes or comments related to the transaction.
- Send Tokens Button: Click this button to send the tokens and complete the transaction.
- Cancel Button: Click this button to cancel the transaction and return to the previous screen.
- Delete PO: Click this button to delete the purchase order if needed.
2. Upon completing the transaction, you’ll see the Pay PO receipt with the amount sent to the recipient.
3. Click the “Go back home” button to finish the transaction and return to the home screen.
On QR Code Generation
A QR code is generated with the details of the transaction, including the Token Amount, Token Fee, and Total Token Amount. This QR code can be scanned by another user or device to complete the transaction.
Go Back: Allows you to return to the previous screen without completing the transaction.